Proper lighting is more than just useful, it helps keep your home safe. One of the easiest ways to make your home safer and more convenient is by putting in a motion sensor light. These lights turn on by themselves when they sense movement, which can scare away unwanted visitors, save electricity, and make it easier to see when it’s dark outside. If you’ve been thinking about improving your outdoor lights, installing motion sensor light over garage is a great place to start.
Installing motion sensor light over garage is a simple DIY project that improves security, saves energy, and adds convenience. To install, first turn off the power at the circuit breaker. Mount the light fixture above the garage door or eave at 7 to 10 feet height for best coverage. Connect the wires: black to black (hot), white to white (neutral), and green or bare to ground using wire connectors. Secure the fixture to the mounting bracket, restore power, and test the sensor’s range, angle, and sensitivity. Adjust settings as needed to ensure reliable detection without false triggers.
In this guide, we’ll walk you through everything you need to know to set up a motion sensor light over garage. From choosing the right location to connecting wires safely, we’ll cover the entire process in detail.
Why You Need a Motion Sensor Light Over Your Garage
Adding a motion-activated garage light offers more than just illumination. Here’s why it’s a must-have for every homeowner.
Enhanced Security: A motion sensor light garage setup automatically turns on when movement is detected, detecting burglars and alerting you to activity outside. Unlike standard lights, motion lights provide targeted illumination exactly when needed.
Energy Efficiency: Traditional outdoor lights stay on all night, wasting electricity. A motion sensor LED garage light only activates when motion is detected, helping you save on electricity bills.
Convenience: The light turns on automatically, giving you hands-free illumination when approaching your garage, perfect for times when your hands are full or it’s dark outside.
Choosing the Right Motion Sensor Light
Selecting the right motion sensor light for your garage or outdoor area is more than just picking a fixture; it’s about matching the light to your specific needs. Considering the following factors will help you make the best choice:
1. Brightness and Coverage
Think about how much light you need and the area you want to illuminate. A brighter light may be necessary for larger spaces or areas where safety is a priority. Also, check the sensor’s detection range and angle to ensure it covers the zones you want monitored.
2. Energy Efficiency
Energy consumption is important if your light will be on frequently. LED lights are generally the most efficient, while other types may consume more electricity. Choosing an energy-efficient fixture saves money and reduces environmental impact.
3. Installation Requirements
Some lights are easier to install than others. Consider whether you want a light that requires wiring, a solar-powered option that doesn’t need electricity, or a plug-in model. Think about the tools, effort, and wall space needed for installation.
4. Durability and Weather Resistance
For outdoor use, the light must withstand rain, snow, and extreme temperatures. Check the IP rating or product description to ensure it’s weatherproof and built to last
For an even smarter setup, you can connect your lights with trusted home automation provider, allowing you to control them remotely and get alerts when motion is detected.
Tools and Materials Needed for Installation
Before starting, gather these items:
- Motion sensor light fixture (LED garage light with sensor recommended)
- Ladder and drill
- Screwdrivers (Phillips and flathead)
- Wire strippers
- Voltage tester
- Wire connectors and electrical tape
- Outdoor-rated junction box if none exists
- Upgrade to a wider detection model.
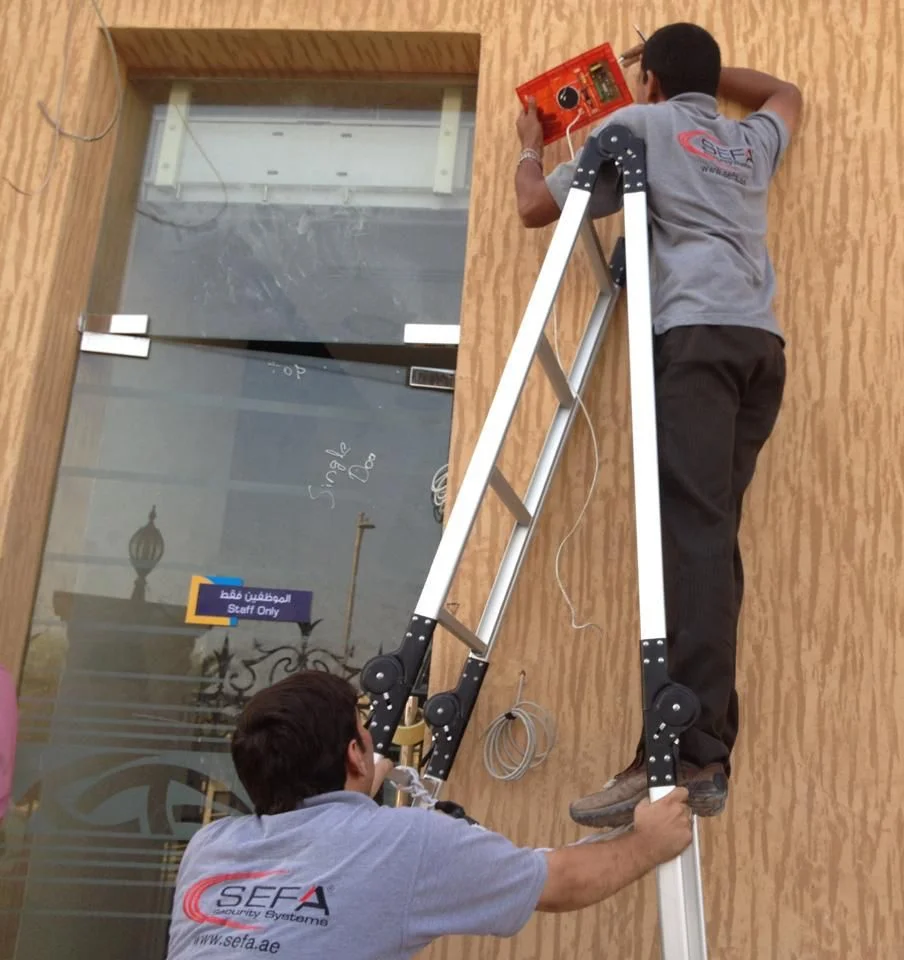
Step-by-Step Installation Guide
Installing motion sensor lights are not just about convenience but also about home security, we bring professional expertise in installing and maintaining them. With our background in CCTV, intruder alarms, and smart lighting systems, we help homeowners choose the right solutions and ensure installations are done safely and effectively.
Step 1: Determine the Best Location
The first step is to decide where to place your motion detection light. A common choice is above the garage door or along the eave. Make sure the sensor can detect movement across your driveway but isn’t triggered by passing cars or street traffic. For optimal coverage, position the light at a height of 7–10 feet above the ground. This ensures the sensor captures motion effectively while illuminating the area you need.
Step 2: Turn Off Power
Safety is essential when working with electricity. Switch off the circuit breaker that controls the garage light. To be completely sure that no electricity is flowing, test the wires with a voltage tester. This prevents accidents and allows you to work confidently while connecting your new fixture.
Step 3: Remove Old Fixtures (If Applicable)
If you are replacing an existing light, carefully unscrew and remove the old fixture. Take your time disconnecting the wiring, ensuring you note which wires are hot, neutral, and ground. Removing the old light safely will provide a clean surface for installing your new motion sensor fixture.
Step 4: Install the Mounting Bracket
Attach the mounting bracket to the wall or eave using screws and wall anchors. Check that the bracket is level so the sensor functions correctly and the light directs where you want it. A stable, level bracket is critical for both safety and proper operation of the fixture.
Step 5: Connect the Wires
Most motion sensing lights have three wires: black (hot), white (neutral), and green or bare copper (ground). Connect the black wire from the fixture to the black wire in your garage, the white wire to the white wire, and the green or bare copper to the ground wire. Use wire nuts to secure the connections, and wrap them with electrical tape for extra safety. Properly connecting the wires ensures the light operates reliably and safely.
Step 6: Mount the Fixture
Once the wiring is complete, attach the light fixture to the mounting bracket. Adjust the angle of both the light and the sensor so that it covers your desired area. Make sure the fixture is secure and does not wobble, as a stable installation helps prevent damage and ensures consistent performance.
Step 7:Test and Adjust
After the fixture is mounted, turn the power back on. Walk through the detection zone to see if the light activates as expected. Make any necessary adjustments to the sensor’s sensitivity, detection range, and duration. Testing and fine-tuning at this stage ensures the motion sensor light performs optimally and avoids false triggers from passing traffic or pets.
Having the right tools makes these steps much easier. If you need high-quality equipment for drilling, leveling, or mounting, Nabil Tools is a reliable place to find what you need.
Conclusion
Installing motion sensor lights over your garage is a practical upgrade for safety, convenience, and energy efficiency. From deterring intruders to automatically illuminating your driveway, these lights transform your garage area into a secure and modern space.
With the right light, proper installation, and regular maintenance, your motion-activated garage light will provide years of reliable performance. At Sefa, we’re dedicated to helping you make home improvement simple, safe, and effective.